Hello, I am Elise. Today, I will show you a way to make grilled rice ball (yakionigiri) recipe. Never miss today’s recipe. This is a simple recipe to try and is one of my family food recipes. Nowadays, I’m gonna make it a little bit tastier. This is gonna smell and look delicious. Not to mention, it’s super satisfying.
Grilled Rice Ball (Yakionigiri) Recipe
Grilled Rice Ball (Yakionigiri) is one of the most well liked of recent trending meals in the world. It is enjoyed by millions every day. It’s simple, it’s fast, it tastes yummy. They are fine and they look wonderful. Grilled Rice Ball (Yakionigiri) is something which I’ve loved my whole life.
To get started with this particular recipe, we have to first prepare a few ingredients. You can cook grilled rice ball (yakionigiri) using 3 ingredients and 7 steps. Here is how you can achieve that.
The ingredients needed to make Grilled Rice Ball (Yakionigiri):
- Prepare 360 g freshly cooked rice
- Get Proper amount of mixture of soy sauce and mirin (soy sauce : mirin = 2:1) (onigiri sauce)
- Make ready Sesame oil for greasing
Instructions to make Grilled Rice Ball (Yakionigiri):
- Wet your hands with water so that the rice won’t stick. Make sure not to use salt because the onigiri will be seasoned by soy sauce later.
- Place the cooked rice and hold it between your palms.
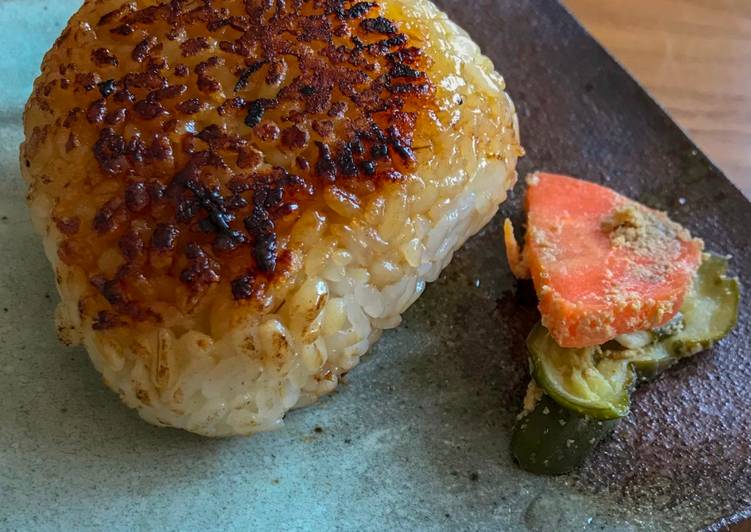
- Form the rice into a round or a triangle by pressing lightly with your both palms.(I used a cling film so that the onigiri keeps clean.)
- Grease the sesame oil on a frying pan then heat it.
- Place the onigiri on the frying pan and grill both sides over medium heat.
- Brush the onigiri sauce over each side of the onigiri and grill each side until crispy over low heat.
- Serve on a nice plate and your grilled onigiri is ready!
So that is going to wrap this up for this special dish grilled rice ball (yakionigiri) recipe. Thanks so much for reading. I’m confident that you can make this at home. There is gonna be more interesting food in home recipes coming up. Remember to save this page in your browser, and share it to your family, colleague and friends. Thank you for reading. Happy cooking.